Navigating the dashboard
Your dashboard is home to all your map dataset. By default, your dataset are shown as a gallery of cards.
- To find a dataset, search by its name or sort by creation date, name, or size. You can also launch a new dataset from the dashboard with “New Dataset.”
- To create a new dataset from the dashboard, see the Atlas Quickstart (for everyone).
Selecting a map from your gallery will bring you to your dataset page for that map. Your dataset page contains important info about your maps — like what kind of data your map contains and who can edit it — and is where you can manage all of the user settings for your dataset.
Visit your own dashboard at https://atlas.nomic.ai/.
Example of your Atlas dashboard

View dataset
Your datset page gives a quick view into the data and metadata for your Atlas Datset. It consists of a few sections: Overview, Members, and Settings. On the main Overview page, see your dataset metadata, Map Preview, and Data Preview.
Example of an Atlas dataset page

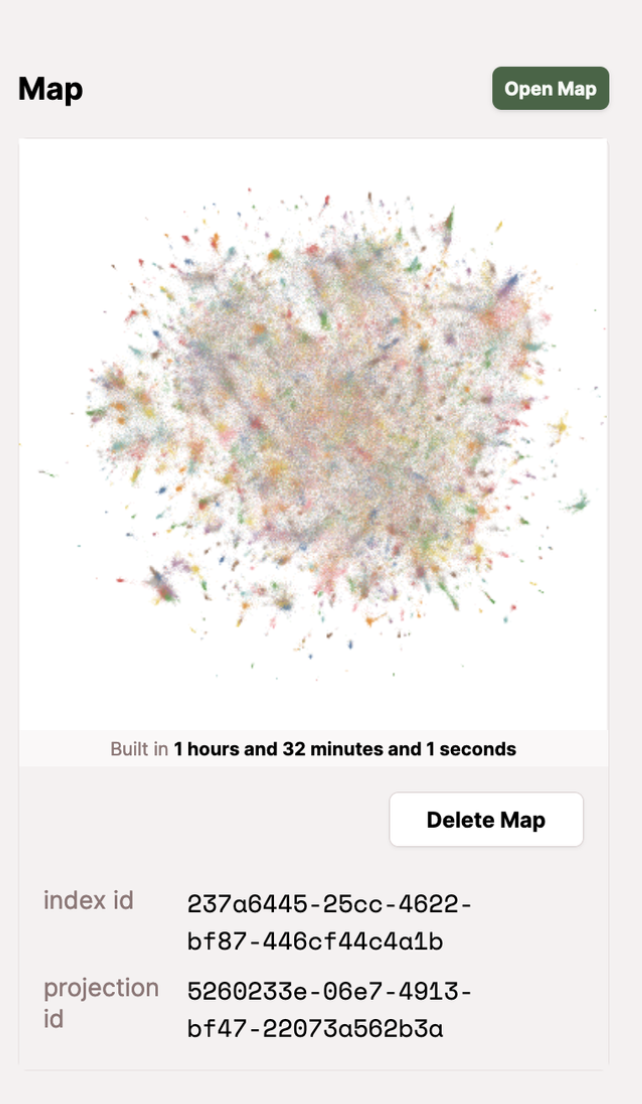
Map preview
Your Map Preview section contains:
- A live, zoomable preview of your map.
- "Open Map” button: Clicking the Open Map” will direct you to the webpage containing your Atlas map.
- “Delete Map” button: Clicking the “Delete Map” button will delete your map projection, but your datapoints will be retained in Atlas for building additional maps.
- Index ID and Projection ID: these are unique identifiers for your index and projection. Your map may contain multiple indices and projections if you build multiple projections on top of your data.
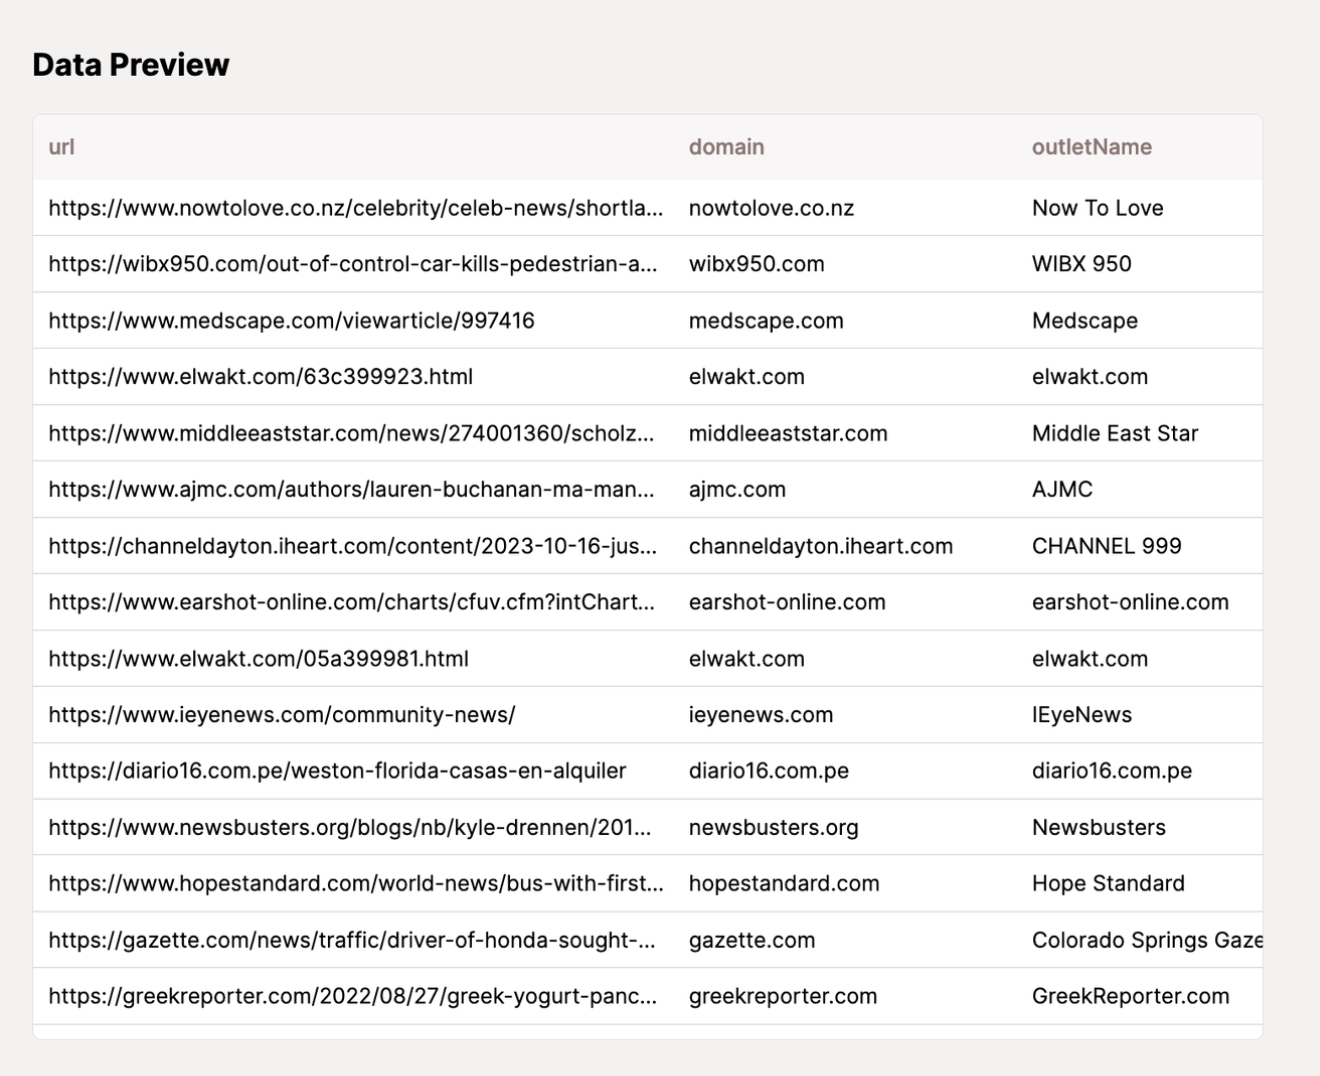
Data preview
Your Data Preview section contains:
- A scrollable table preview of the first 100 rows of your data.
Manage members
The members area of your dataset page is where you can manage all of your members-related settings on your map.
See who can view and edit your map and invite other Atlas users to collaborate on your dataset. For more information on permissions, please see "Organization Level and Permissions." Read further to learn how to add and delete members from your organization.
Add members to your map
Users can add other Atlas users to view or edit their map.
- Navigate to Your Dataset Page > Members
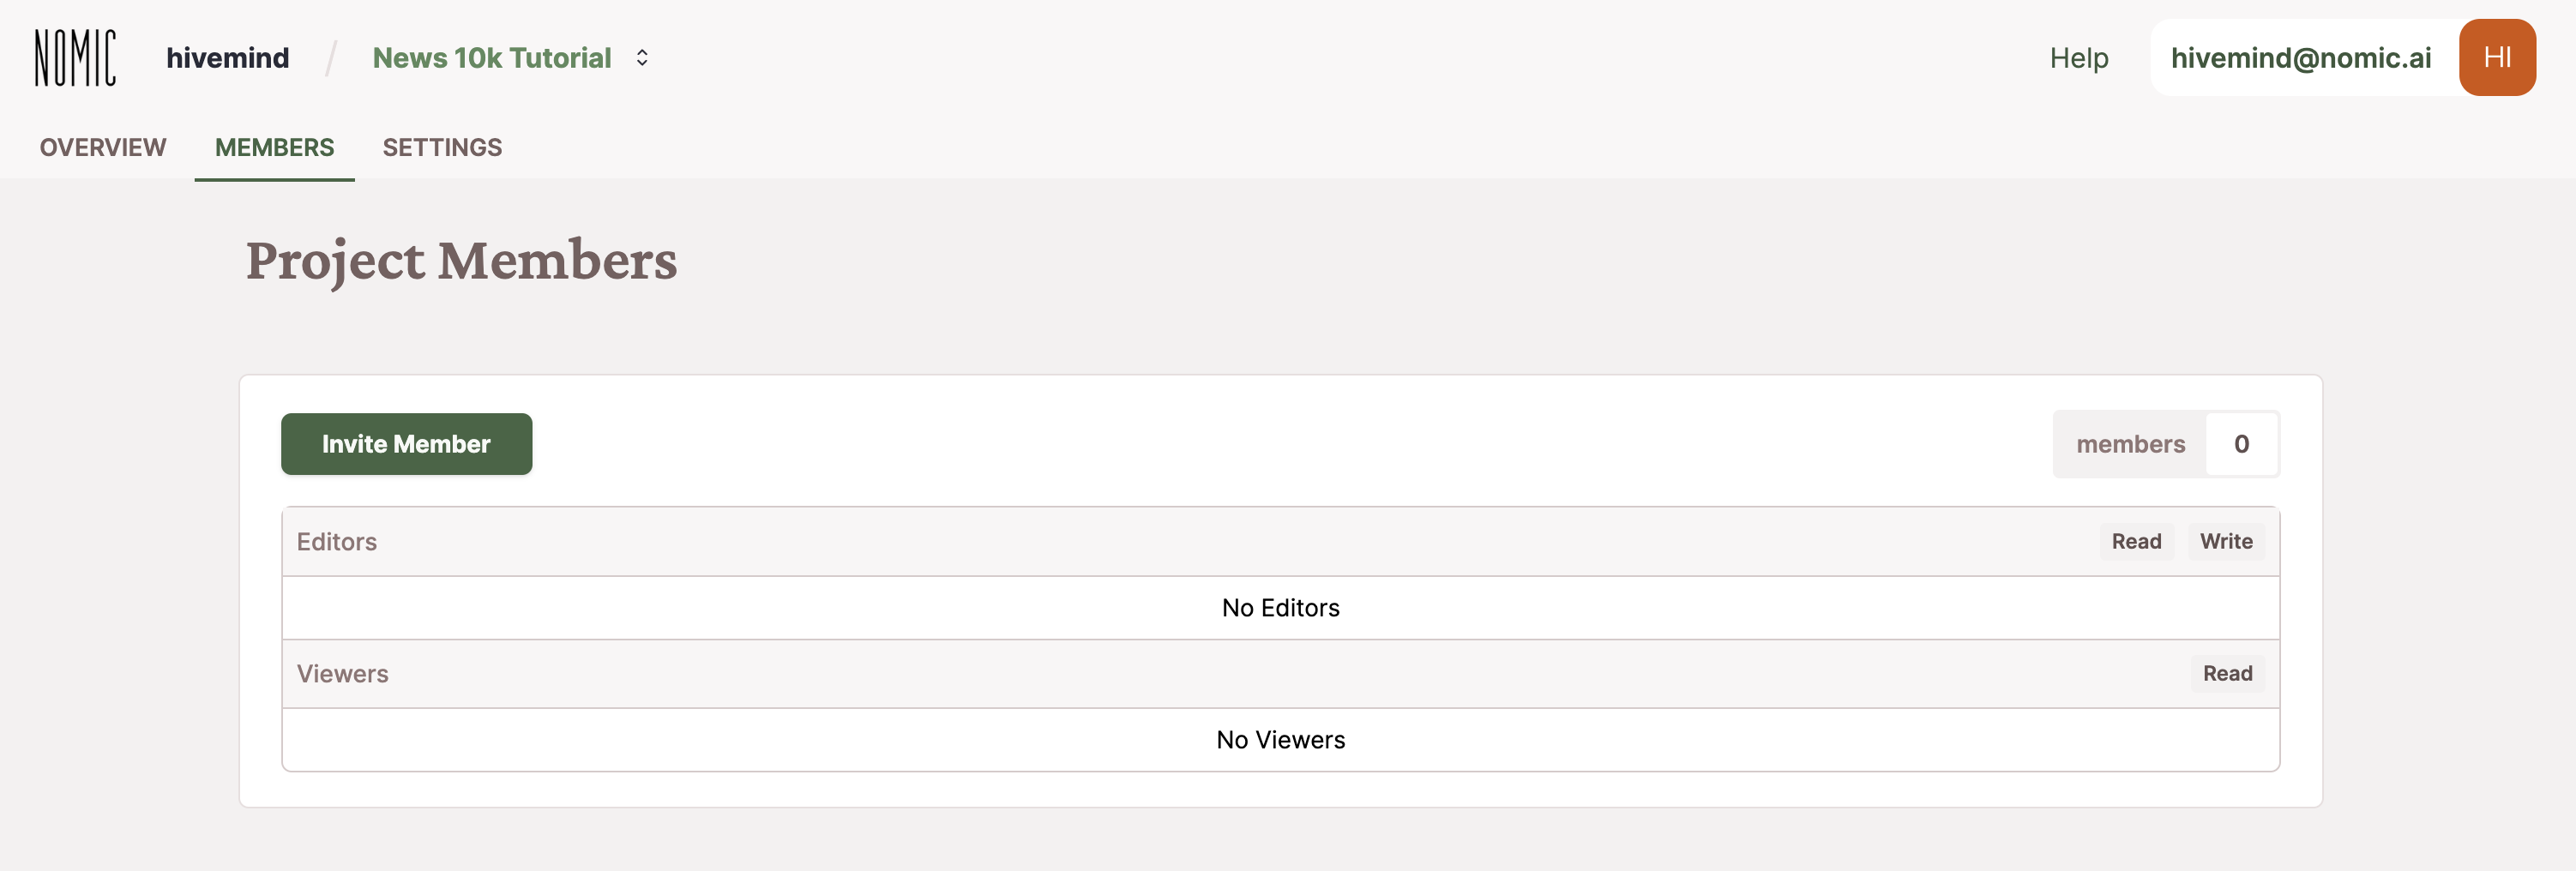
- Click "Invite Member" and enter the email of the Atlas user you want to collaborate on the map with (this will be the email they used to sign up for Atlas). Specify whether or not you want them to have view or edit access.
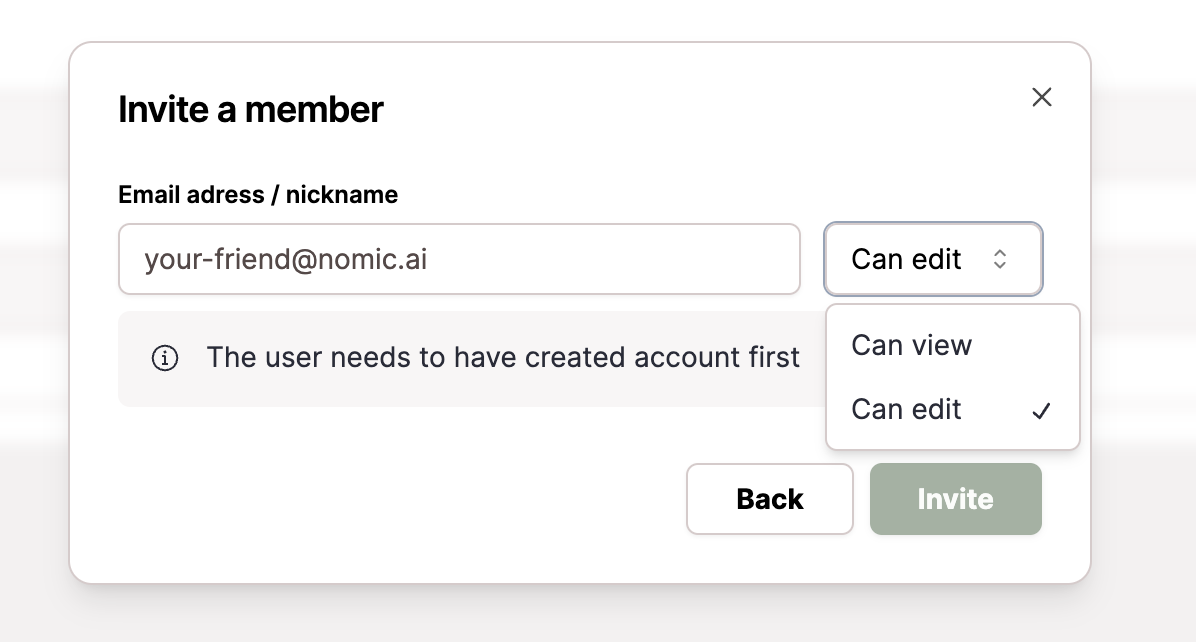
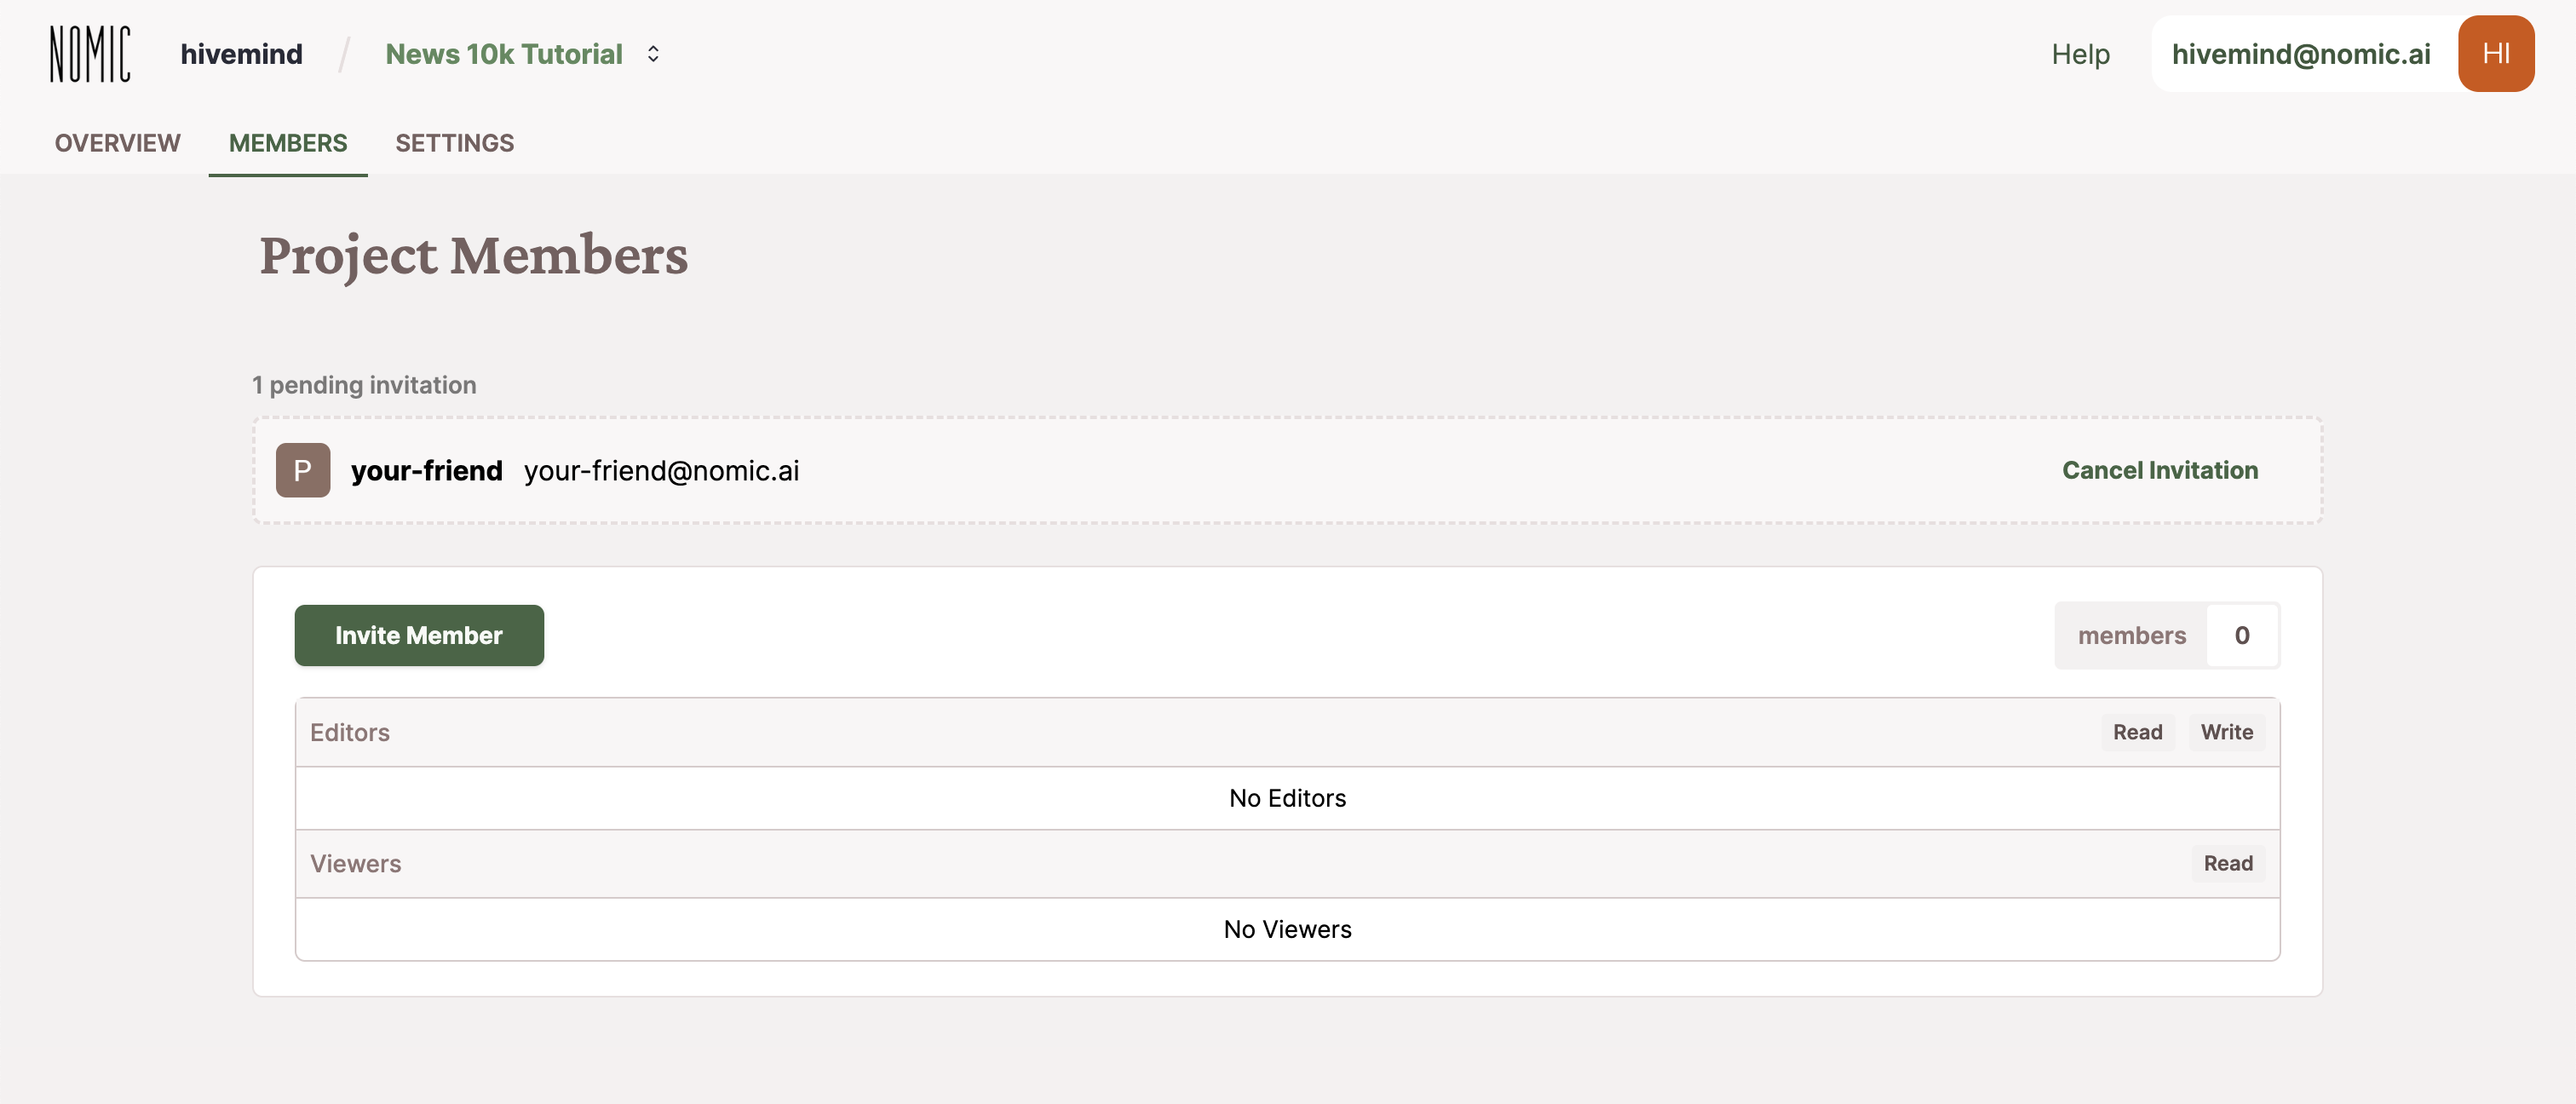
- Your invitation to that user will show up as pending until they accept it on their dashboard.
-
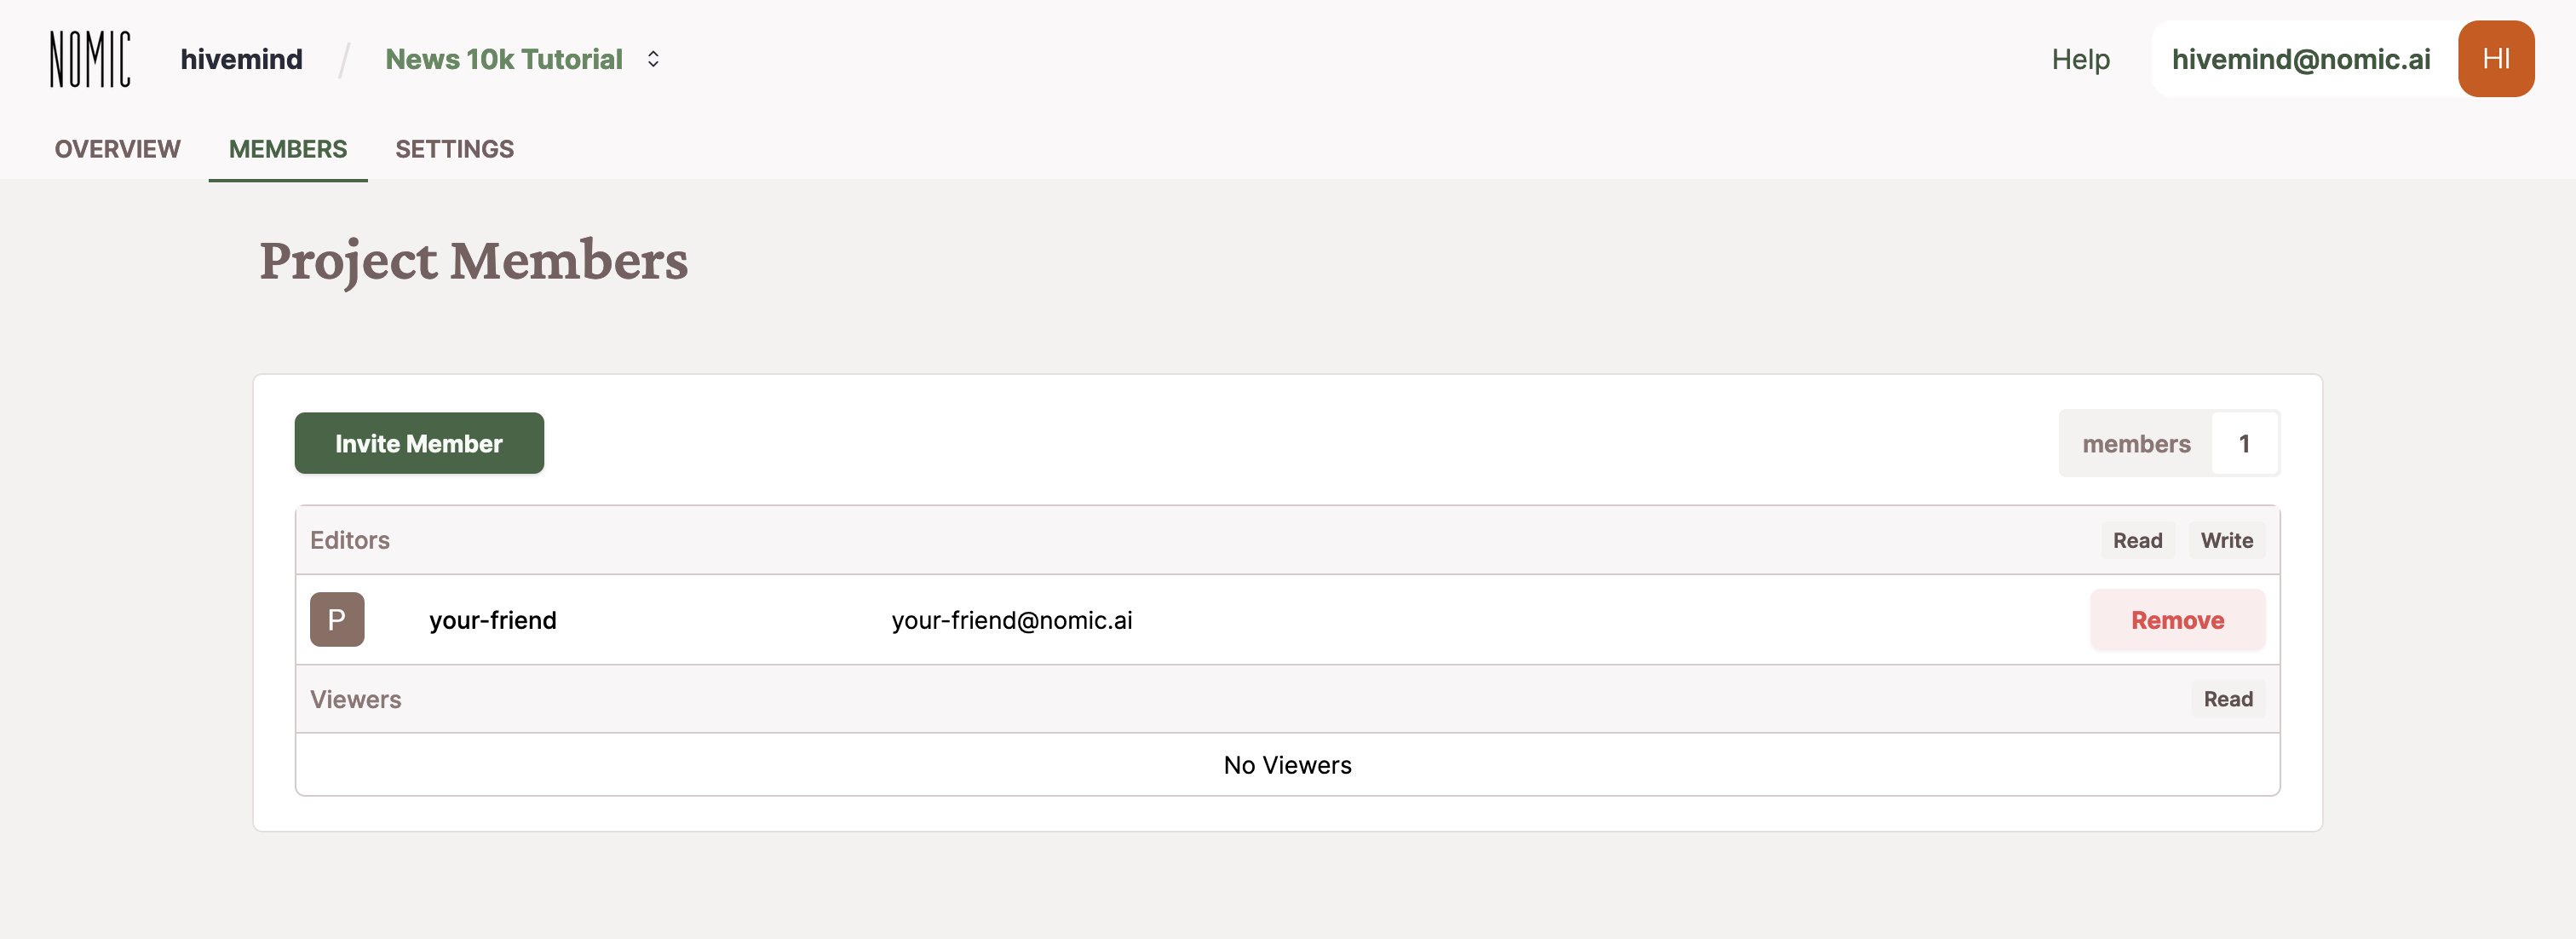
Once they accept the invitation, they will appear in the Members section of your dataset page for that map. Click the Remove button to remove their access at any time.
Your invitation to your fellow Atlas user will show up on the top right of their dashboard at https://atlas.nomic.ai/data. If you encounter any difficulties with your settings, please send a message to the 🛖 Nomic AI Discord.
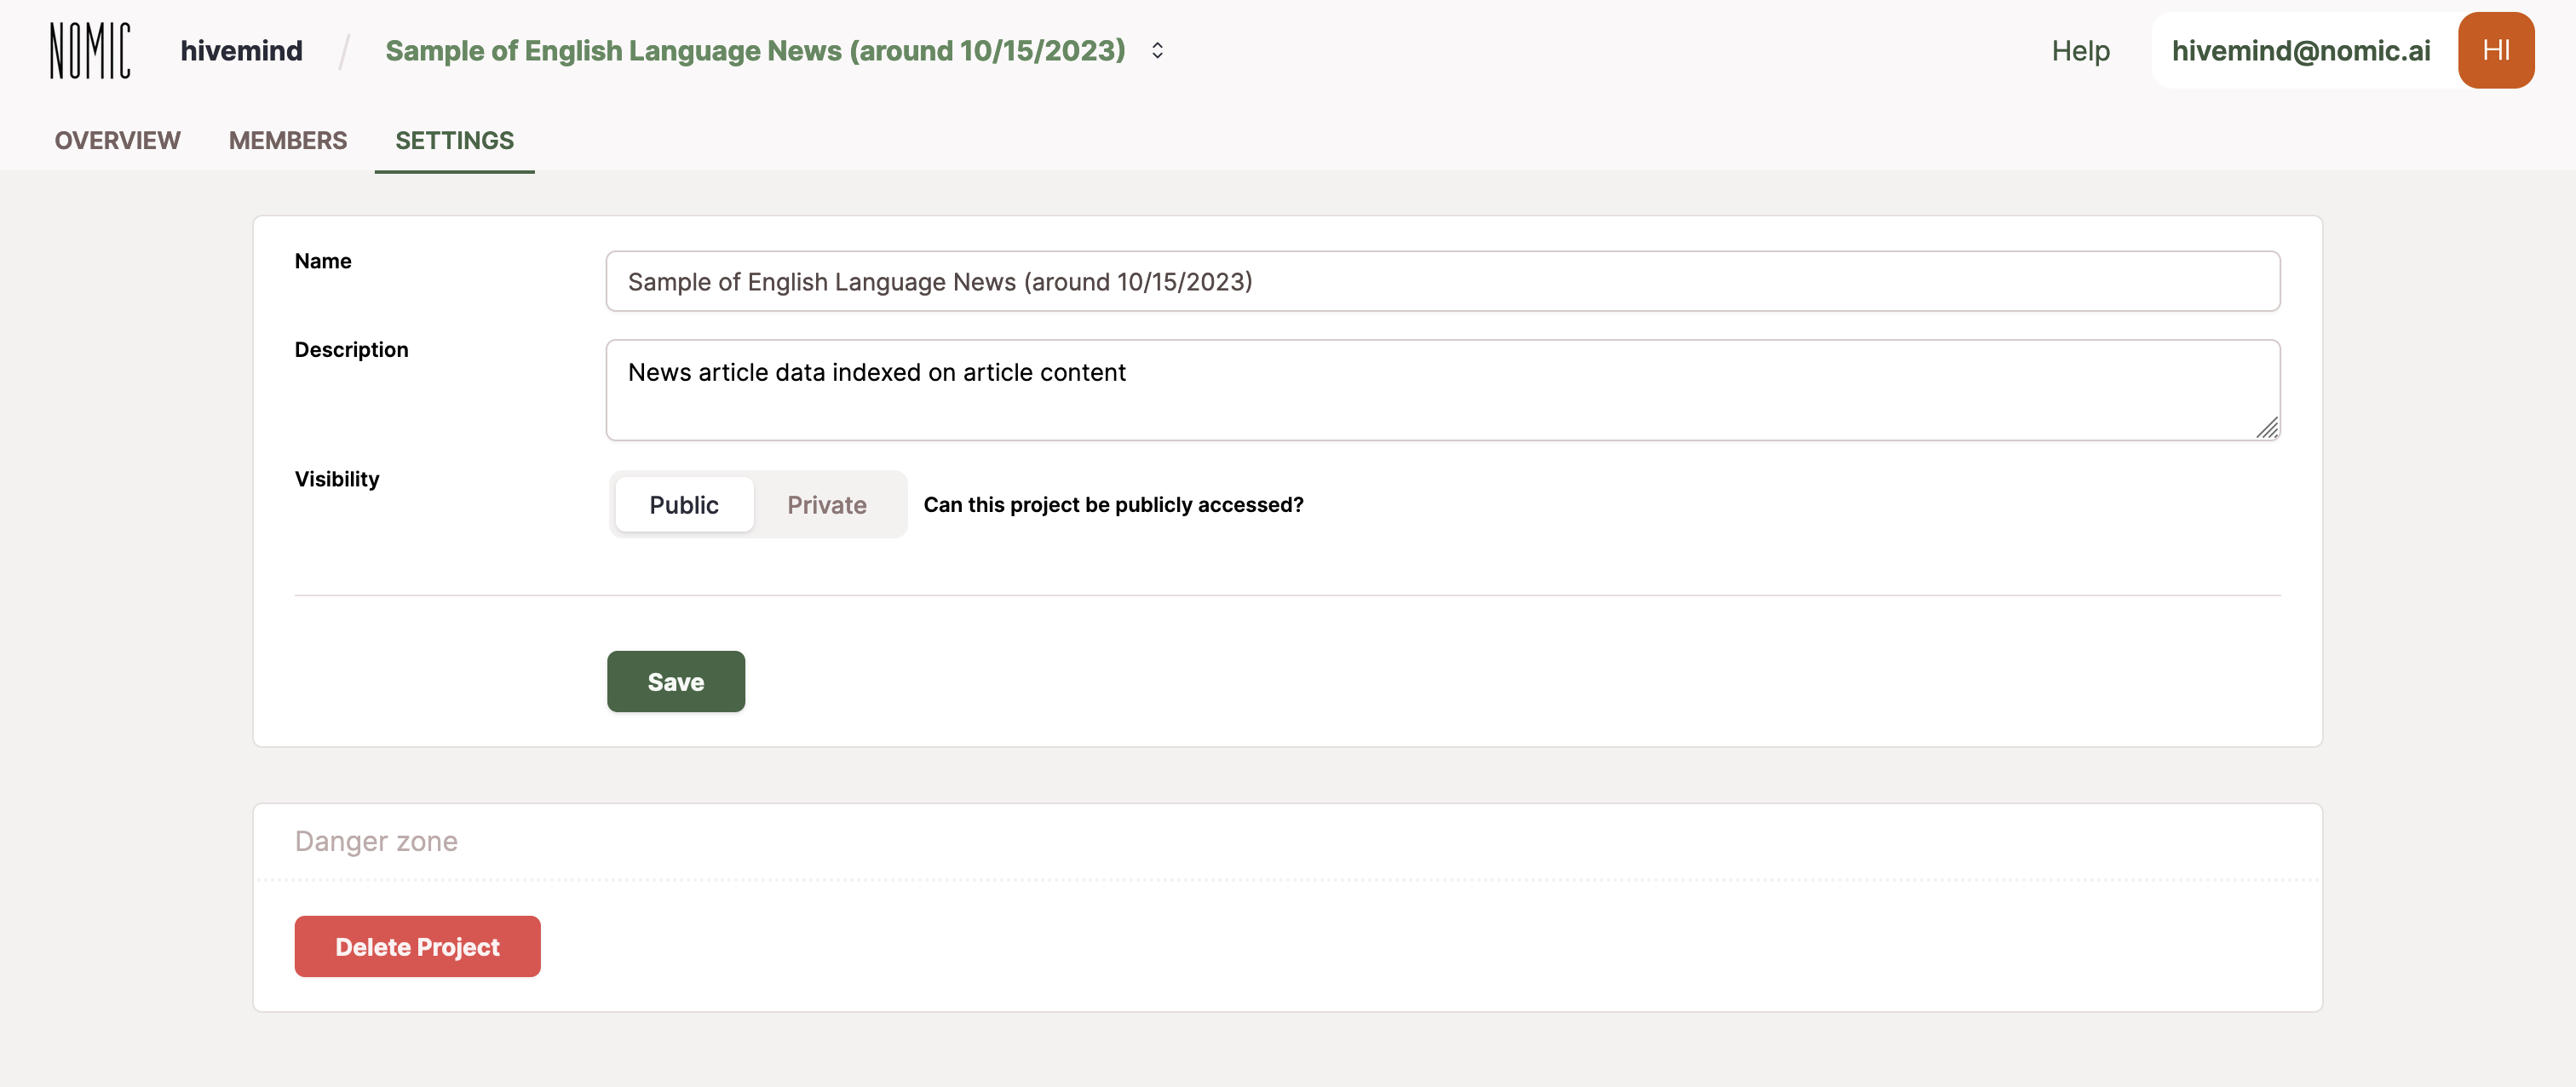
Changing map info
On the Settings tab of your dataset, you can change your map name, its description, and its visibility as public or private. For more information on permissions, see the section on Organization Level and Permissions.