Snowflake
This guide will walk you through connecting Atlas to your Snowflake instance and uploading your tables.
Connecting to Snowflake
You only need to establish a connection to your Snowflake account once. After that, you can reuse this connection to upload multiple tables.
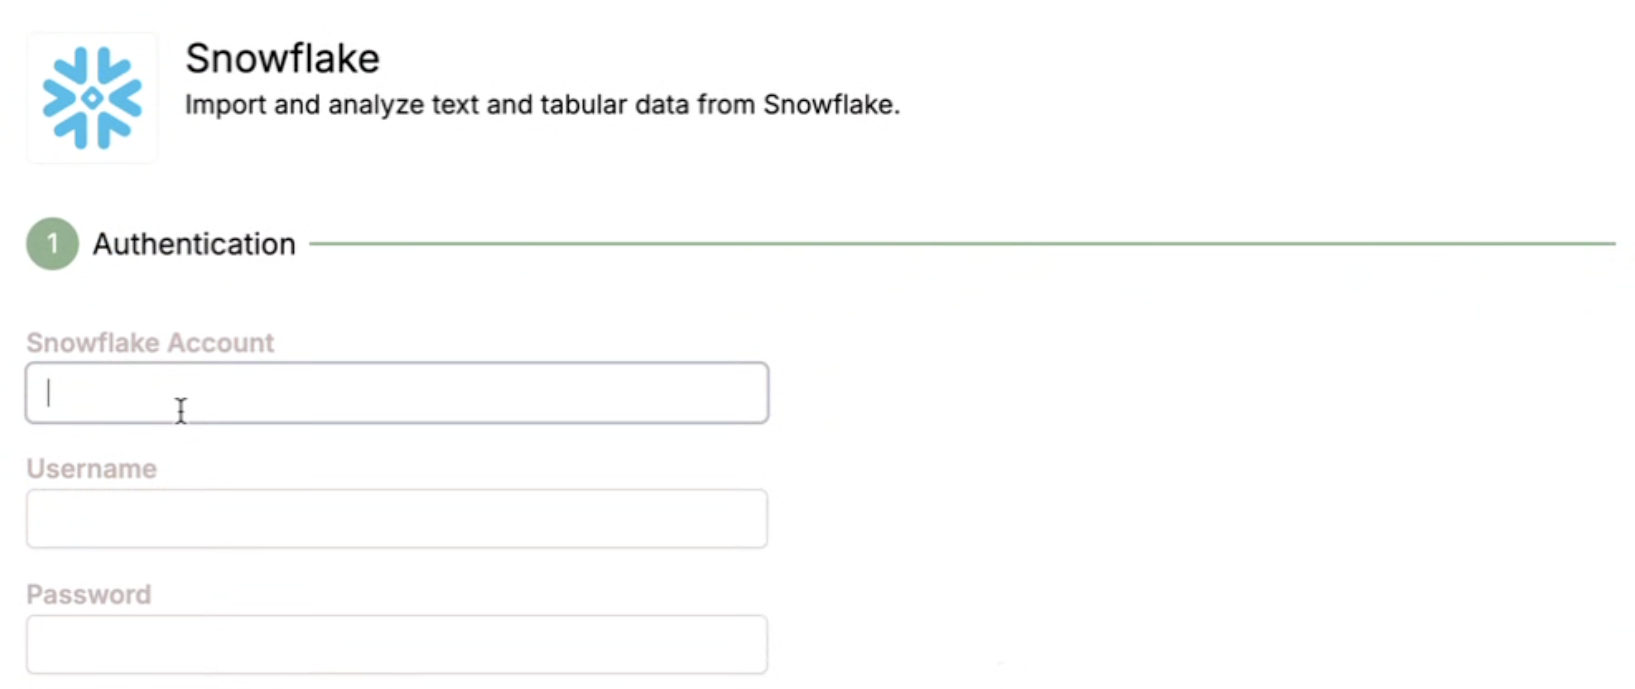
Entering your Snowflake account information for authentication.

Successfully connected to your Snowflake account.
To connect, provide your Snowflake credentials:
- Username: Your standard Snowflake login username.
- Account ID: You can find this in your Snowflake settings under Account -> View account details -> Account Identifier. It will be in the format ORGID-ACCOUNTID (e.g.
MYA345-CFE123) - Password: You can use your regular Snowflake login password or a one-time Personal Access Token.
Using a one-time Personal Access Token (PAT) for authentication is more secure than using a regular password. If you use a Snowflake PAT, make sure it is associated with a network policy that allows access. For more information, see the Snowflake documentation on PATs.
You can sign out and sign back in at any time if you need to refresh your connection or switch to a different Snowflake account.
Importing Snowflake Tables into Atlas
Once your Snowflake connection is active, you can upload Snowflake tables your user has permissions to read from into Atlas.
Select your table
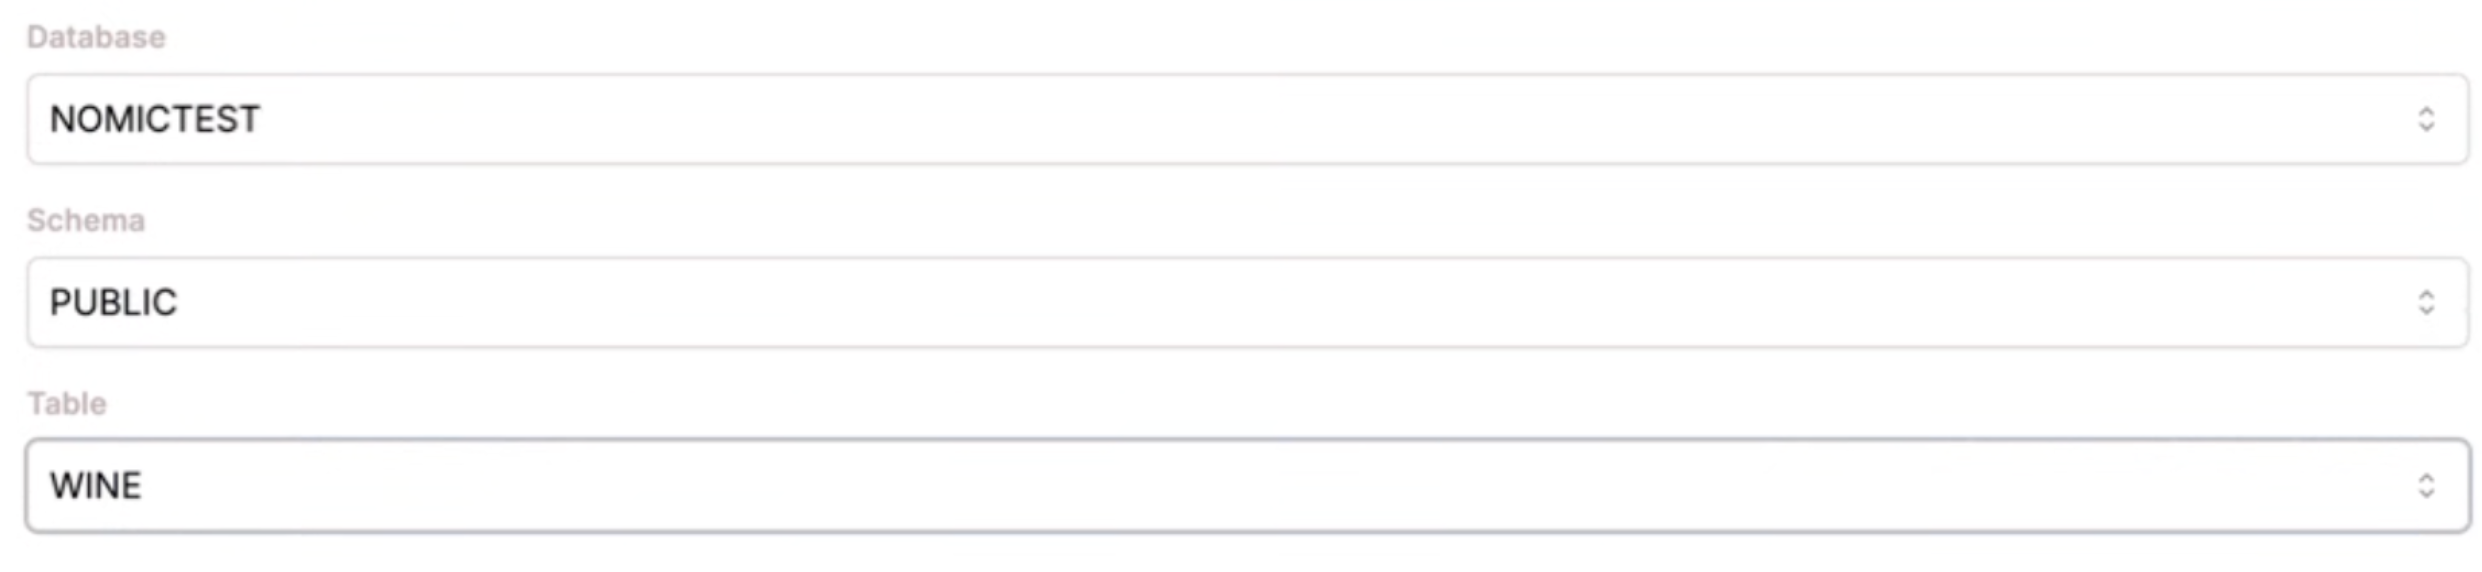
Choose the Database where your table is located, select the appropriate Schema, and choose your desired Table from the list.
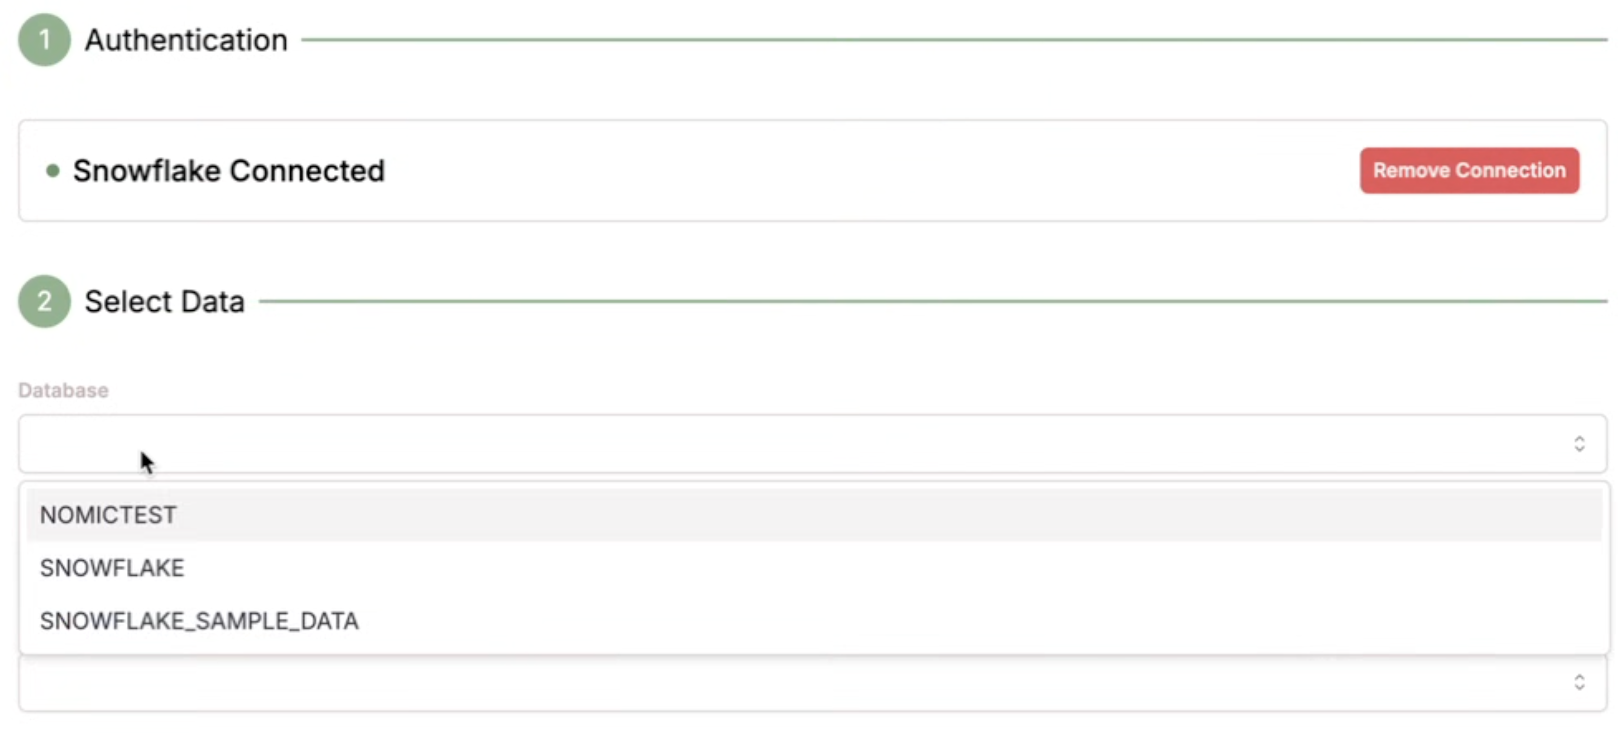
Choosing your Snowflake table parameters (database, schema, table name).
Configure your Atlas Upload
You'll see a preview of your dataset for your to inspect and review before uploading.
Atlas will select the field to embed that makes the most sense for your data based on a preview of the table. If you want your map to be built on a different field, you can select a different one from the dropdown.
Choose whether the data is English or multilingual, provide a name and an optional description for your dataset in Atlas.
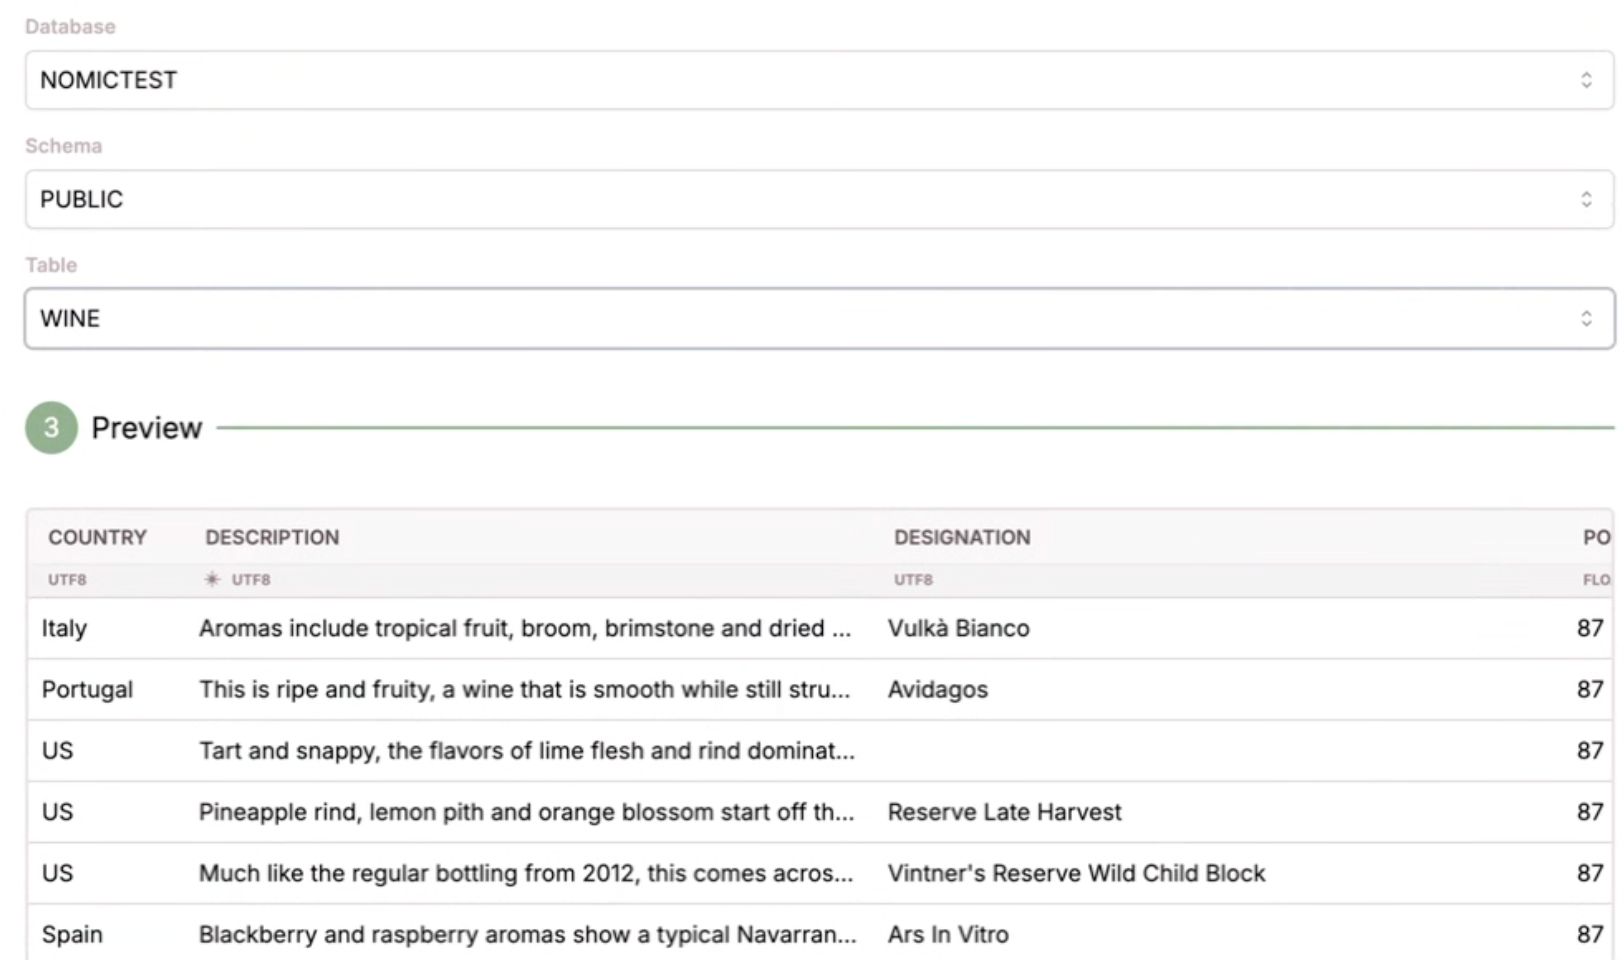
Previewing the table data with 'Description' as the auto-selected field to embed.
Finally, click Create Dataset. Your data will then be prepared for ingestion into Atlas, and you'll be notified when your data map is ready. Note that starting this ingestion process from Snowflake can take a few minutes to begin.